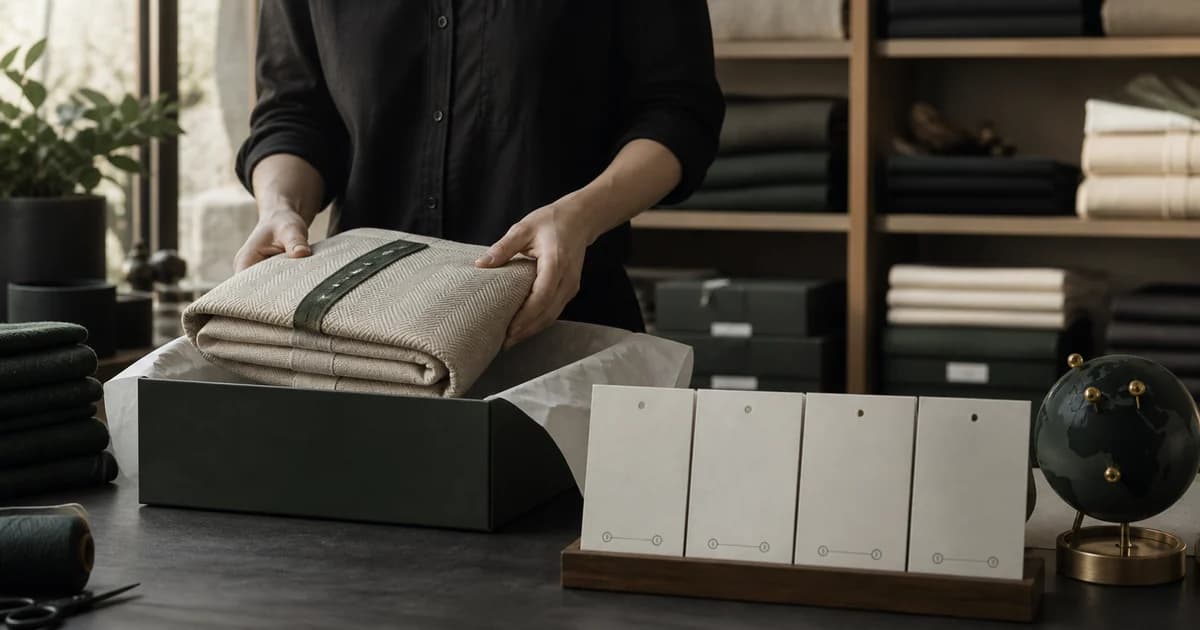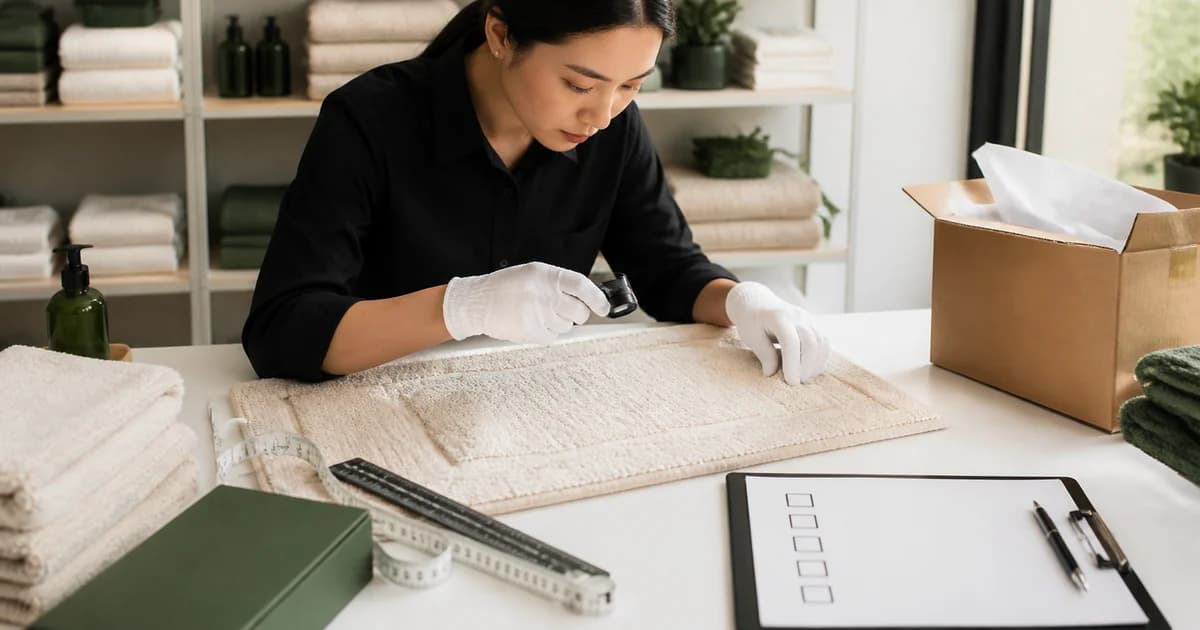
A digital mockup can validate an idea, but a physical sample validates the promise. Order samples before scaling a listing so you understand color, texture, construction, packaging and the unboxing experience.
Test the hardest design first
Choose the design most likely to reveal production limits: fine lines, dark gradients, small reversed text, edge-to-edge color or precise alignment. A simple design can hide problems that appear later in your catalog.
Inspect in a repeatable sequence
- Compare overall dimensions with the product specification
- Check print position, crop, rotation and safe-area decisions
- View color in daylight and warm indoor light
- Inspect edges, stitching, backing and finishing
- Rub, fold or wash only according to the intended care test
- Check odor, loose fibers, marks and packaging damage
Photograph proof, not just beauty
Capture the full product, a scale reference, texture close-ups, edges, backing, packaging and any care label. These images improve listing accuracy and give support a baseline if a customer reports a defect.
Create an acceptance standard
Define what is normal manufacturing variation and what is a defect. Record tolerances you can explain clearly. Do not promise exact screen-to-product color matching; screens, materials and lighting vary.
- Acceptable placement tolerance
- Expected color and texture variation
- Minimum edge and stitching quality
- Packaging condition
- Defect escalation evidence required
Feed findings back into the listing
Update mockups, crop guides, care instructions, product description and support macros based on the sample. The sample is not only a quality gate—it is your best source of credible sales detail.
Treat sampling as product research. A documented sample reduces surprises, improves your listing and makes customer service faster.